

The Artist’s Palette: A Definitive Guide to Coloring Epoxy Resin
Of course. Creating a truly comprehensive, long-form guide is an excellent way to provide immense value to your audience and establish your website as a go-to resource. A deep dive into the art and science of coloring resin is a perfect topic for a 10-15 page post, as it’s a subject with incredible depth that every resin artist needs to master.
Here is a definitive guide to coloring epoxy resin, structured to be an ultimate resource for your visitors at LisasResin.World.
Post Title: The Artist’s Palette: A Definitive Guide to Coloring Epoxy Resin
Welcome, artists and creators, to a deep exploration of what gives resin art its soul: color. Here at LisasResin.World, we’ve guided you through the fundamentals of mixing and pouring, but now we venture into the heart of creativity itself. Moving beyond simply adding a drop of blue or a dash of pink, this guide is your masterclass in understanding, manipulating, and mastering the pigments that bring your visions to life.
Coloring resin is a beautiful blend of art and science. It’s about knowing which pigments create which effects, how they interact with each other, and how to use them to evoke emotion and tell a story. From the ethereal shimmer of mica powders to the vibrant punch of alcohol inks and the opaque boldness of pigment pastes, each colorant has its own personality and purpose.
This is a very long and detailed guide, so we encourage you to get comfortable and take your time. We will journey through the foundational rules of coloring, explore each major type of colorant with advanced techniques, and even touch on color theory to elevate your work from craft to art. By the end, you will not only know how to color resin, but why your choices matter, empowering you to create with intention, confidence, and breathtaking beauty.
Chapter 1: The Foundations of Color in Resin – Rules & Principles
Before we dive into the exciting array of pigments, we must first understand the fundamental principles that govern how color behaves in epoxy resin. Getting these basics right is the key to avoiding common frustrations and ensuring your pieces cure properly and look spectacular.
The Golden Rule: The 10% Guideline
If you learn only one thing from this chapter, let it be this: You should not add more than 10% colorant by volume to your total amount of mixed resin. For example, if you have 100ml of mixed resin, you should use no more than 10ml of liquid pigment or an equivalent volume of powder.
But why is this rule so critical? Remember that epoxy resin cures through a precise chemical reaction between the resin (Part A) and the hardener (Part B). Colorants do not take part in this reaction; they are simply foreign particles suspended within the mixture. When you add too much colorant, you are physically displacing the resin and hardener, preventing their molecules from linking together properly. This can severely inhibit the cure, resulting in a piece that remains soft, bendy, or sticky, no matter how long you wait. Most pigments are highly concentrated, so you can achieve rich, beautiful color with far less than you think.
Transparency vs. Opacity: Controlling Light
Every colorant falls somewhere on the spectrum between transparent and opaque. Understanding this concept is fundamental to achieving your desired effect.
- Transparent colorants, like dyes and alcohol inks, allow light to pass through them. They create a see-through, jewel-toned, or stained-glass effect. When you hold a transparent piece up to a light source, it will glow with color. This is ideal for projects where you want to see embedded objects clearly or create ethereal, layered looks.
- Opaque colorants, like pigment pastes and most mica powders, block light from passing through. They create a solid, milky, or metallic color. You cannot see through an opaque piece. This is perfect for creating bold, solid-color items, ocean art waves, or pieces where you don’t want any embedded items to be visible.
A Critical Warning: What NOT to Use
It can be tempting for new artists to reach for whatever they have on hand, but this is often a recipe for disaster. Never use colorants that contain water or oil.
- Acrylic Craft Paint: This is the most common mistake. Most craft paints are water-based. Water is the enemy of epoxy resin; it will react badly with the hardener, causing the resin to flash cure, foam up, or fail to cure altogether, leaving you with a cloudy, gummy mess.
- Food Coloring: This is also typically water-based and will result in a failed cure.
- Oil Paints: While not water-based, the oil in these paints will not mix with the resin. It will remain as streaks and blobs in the mixture and will lead to a messy, uncured final product.
Always stick to colorants that are specifically designed for or are known to be compatible with epoxy resin. Your results will be infinitely better and more predictable.
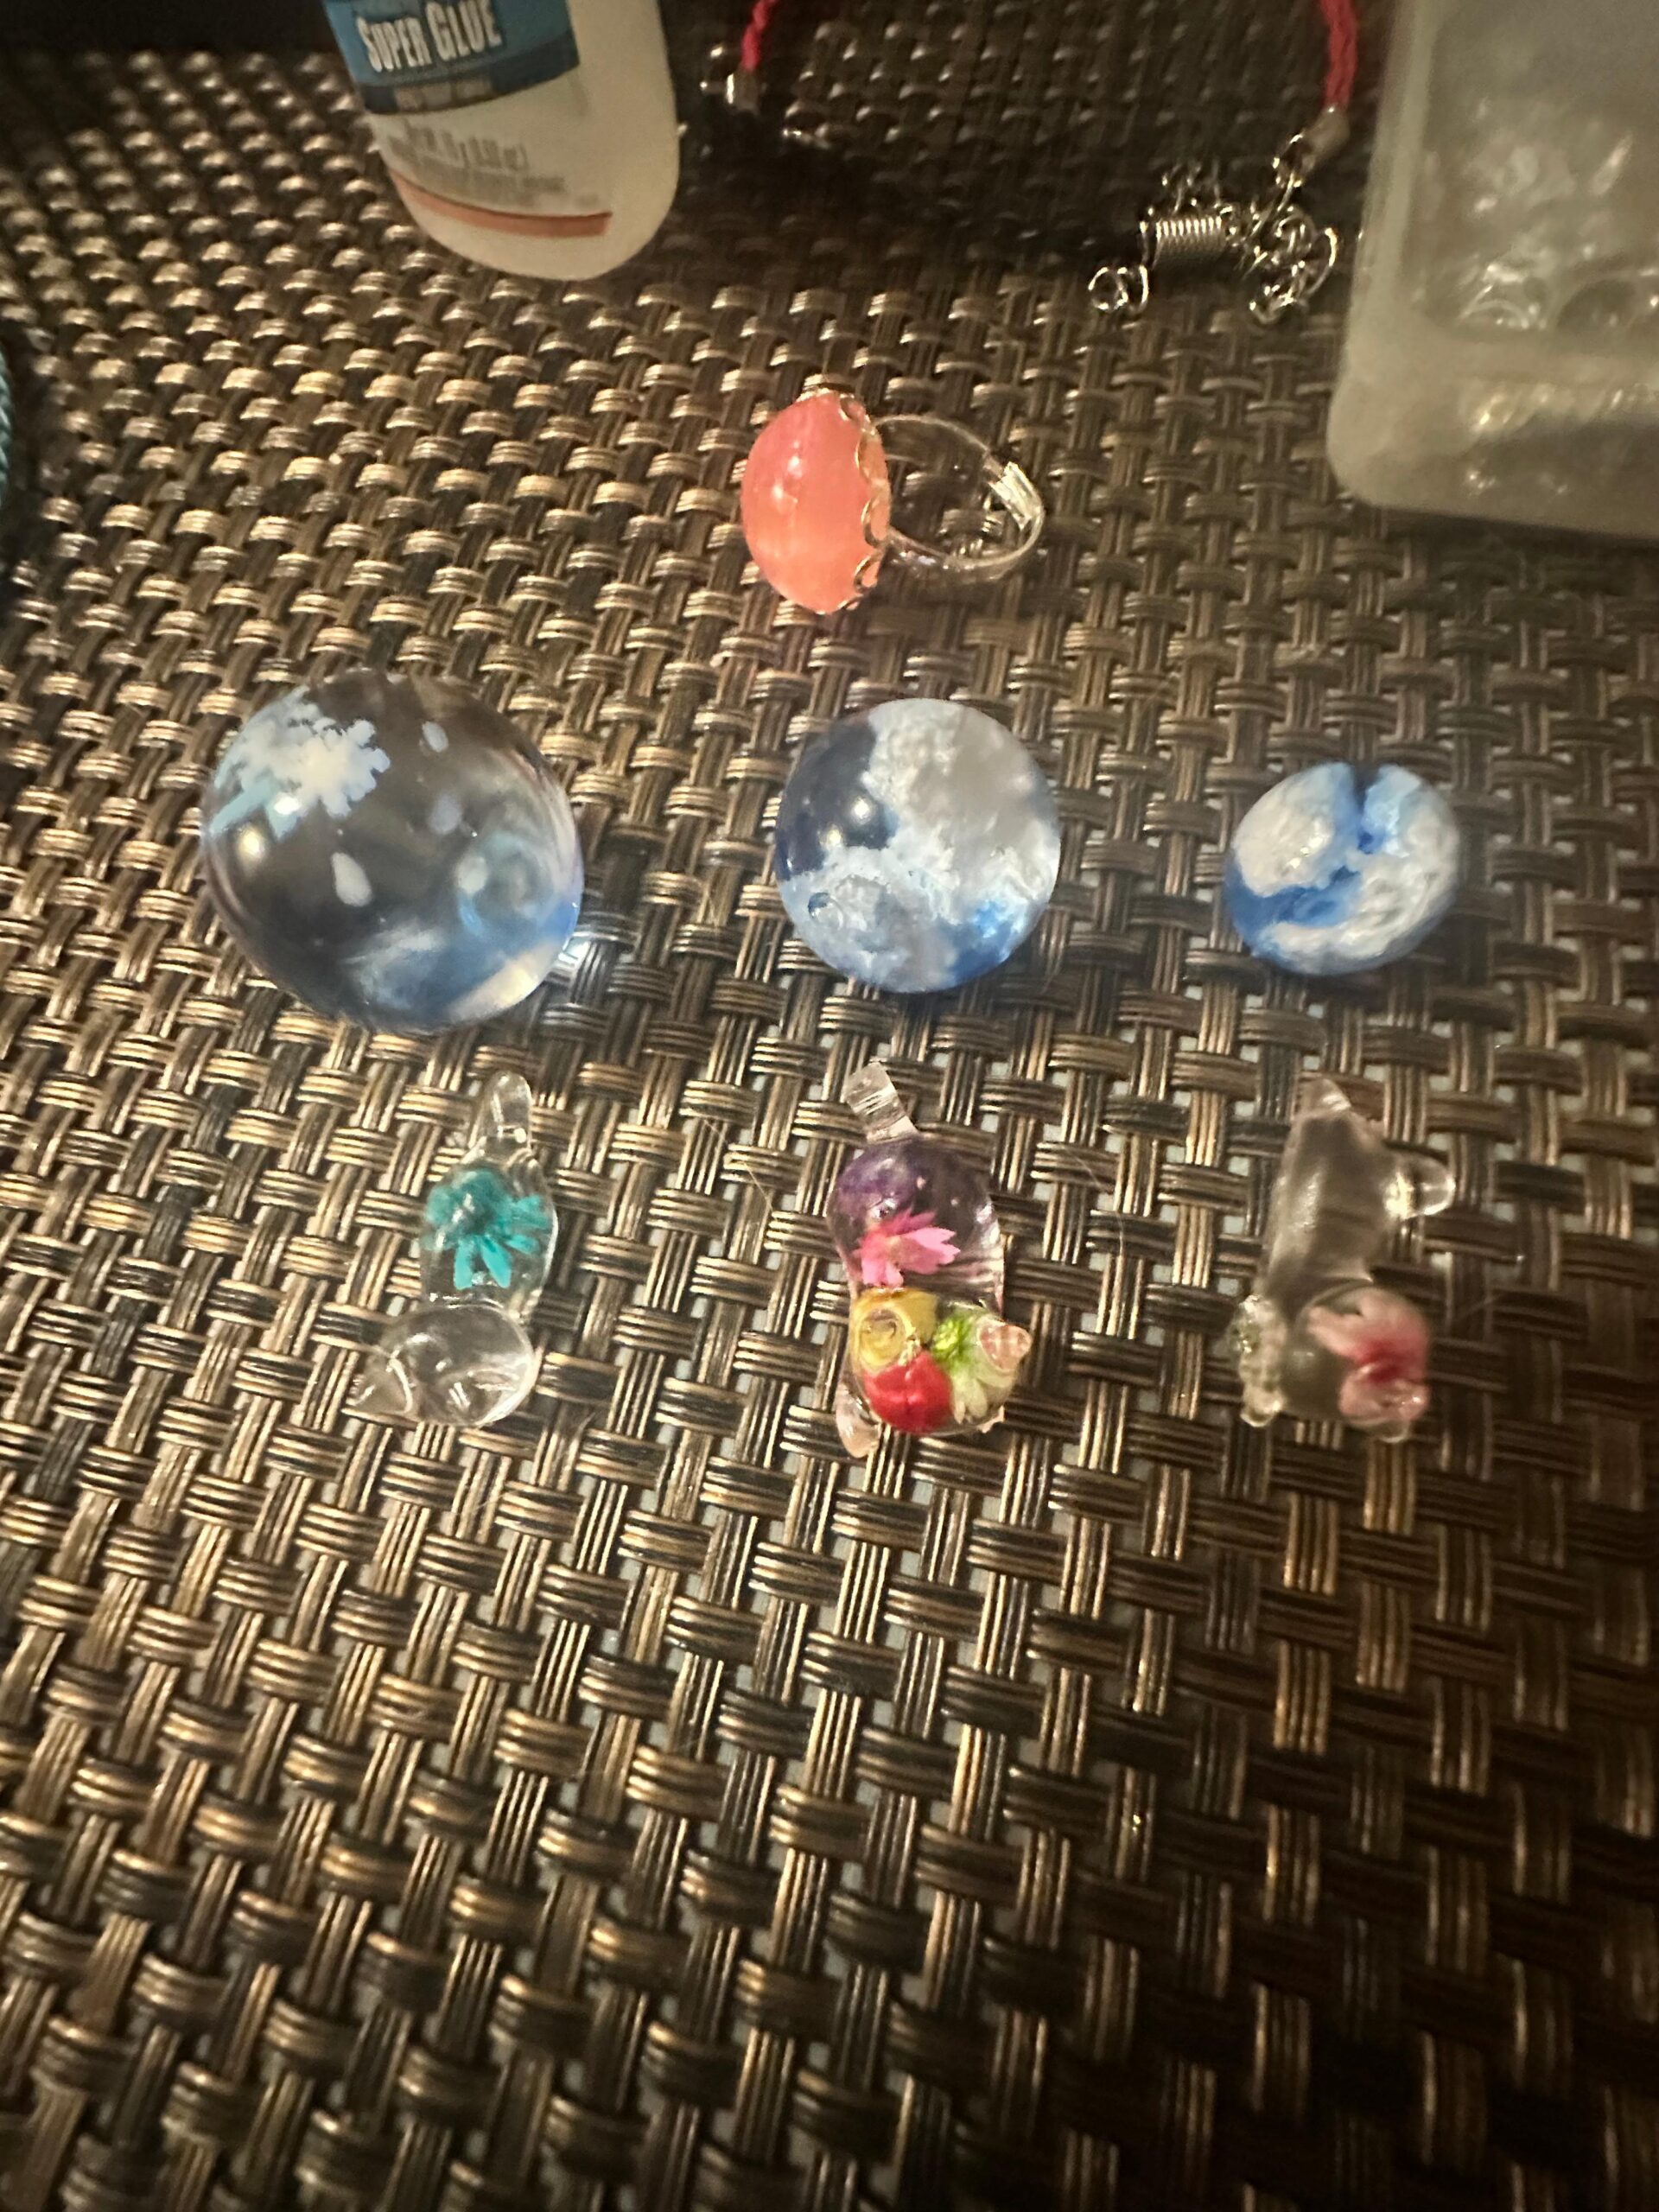
Chapter 2: The Shimmering World of Mica Powders
Mica powders are arguably the most popular and versatile of all resin colorants, and for good reason. These fine, shimmering powders create a sense of depth, luxury, and magic that is difficult to achieve with other pigments.
What Exactly is Mica?
Mica is a natural silicate mineral. When ground into a fine powder, it reflects light, giving it a characteristic shimmer or pearlescent sheen. These powders are then coated with various oxides or pigments to create a dazzling array of colors. When you hear about “ethical mica,” it refers to sourcing the raw mineral from mines that do not use child labor—a consideration many artists make when purchasing supplies.
Techniques for Mastering Micas
Mixing mica into resin is straightforward, but using it to create specific, professional effects requires technique.
- Achieving Full Saturation: For a solid, shimmering color, add a small amount of mica powder to your mixed resin and stir thoroughly until no clumps remain. The key is to add the powder to the resin, not the other way around. A little goes a long way; start with less than you think you need and add more until you reach the desired opacity.
- Creating Elegant Swirls and Ribbons: To create defined swirls, mix your colors in separate cups. Pour them into your mold next to each other. Instead of stirring them together wildly, take a clean stir stick and gently drag it through the colors just once or twice. This creates beautiful, distinct ribbons of color. For an even more defined effect, allow the resin to sit and thicken for 15-20 minutes before creating your swirl.
- Dusting Your Mold: This is a fantastic technique for creating a piece with a solid metallic exterior and a different colored interior. Before pouring any resin, take a soft, dry paintbrush and dip it into your mica powder. Gently “paint” or dust the inside of your silicone mold with the powder, ensuring you get an even coat. Carefully pour your resin (of any color) into the mold. The mica will adhere to the outer layer, creating a stunning “cast metal” look when demolded.
- Floating Veins: For a geode or marble effect, pour your main resin colors first. Then, take a stir stick, dip it in mica powder, and gently tap or drizzle the dry powder onto the surface of the wet resin. You can then use a heat gun to gently push the powder around, creating delicate, web-like veins that float on the surface.
Chapter 3: The Vibrant Power of Alcohol Inks
If micas are for shimmer and depth, alcohol inks are for pure, electric, transparent color. These are highly concentrated, fast-drying, dye-based inks suspended in alcohol. Their unique interaction with resin allows for some of the most stunning and popular effects in the art form.
Techniques for Mastering Alcohol Inks
Working with alcohol inks is like conducting a beautiful science experiment. They can be unpredictable, but that’s part of their magic.
- Creating Rich, Transparent Color: The simplest way to use alcohol inks is to add a few drops to your mixed resin and stir gently. This will create a gorgeous, uniform, see-through color, perfect for making resin “gems” or suncatchers. Because the inks are so concentrated, you only need a few drops to achieve a vibrant hue.
- Deep Dive: The Petri Dish Technique: This is the iconic alcohol ink effect that creates stunning, 3D tendrils of color.
- Pour a Base: Fill your mold (coasters are ideal) with about a 1/4 inch layer of clear resin.
- Drop Your Colors: Working quickly, drop your chosen alcohol ink colors onto the surface of the resin. Don’t be shy; you can use several colors.
- The Magic Sinker: Immediately after dropping a color, add a drop of white alcohol ink directly on top of it. Crucially, this must be a “sinking” white, which is formulated with a resin or heavier component that makes it denser than the colored inks.
- Watch it Happen: The heavy white ink will push the colored ink down through the resin, pulling it into incredible tendril and cell-like shapes.
- Repeat and Rest: Continue this process across the surface. The key is balance; too much ink can lead to a muddled look and potentially affect the cure. Let the piece cure without using a heat gun, which can disrupt the delicate patterns.
- The “Wispy” or “Smoky” Effect: For a more delicate look, pour clear resin into your mold. Add a single drop of alcohol ink. Before it spreads too far, use a toothpick or scribe tool to gently drag the ink through the resin, creating soft, smoky wisps of color. This is beautiful for creating galaxy or nebula effects.
Troubleshooting Alcohol Inks
- Fading: Alcohol inks are dye-based and can be sensitive to UV light. Pieces with heavy alcohol ink saturation may fade if left in direct sunlight for long periods. Using a resin with excellent UV protection is essential.
- Affecting the Cure: The alcohol in the inks can interfere with curing if used in excess. This is another reason the 10% rule is important and why the petri technique is best done in a relatively thin layer.
Chapter 4: The Bold Statement of Pigment Pastes and Dyes
When you need pure, powerful, opaque color, you turn to pastes and dyes. These colorants are the workhorses for artists who need solid, predictable results and the most vibrant saturation possible.
Pigment Pastes: The Power of Opaque
Pigment pastes are incredibly thick, concentrated pigments suspended in a resin-based binder. Think of them as the most potent form of color you can get.
- The Effect: Pastes create a completely opaque, solid, and often glossy color. A pinprick amount of paste can color a surprisingly large volume of resin. They are known for creating rich, true colors that don’t lose their punch.
- Best Uses:
- Ocean Art: White pigment paste is the industry standard for creating lacing and cells that mimic sea foam. Its thickness allows it to float on top of the blue resin before being manipulated with heat.
- Color Blocking: Because the color is so stable and opaque, it’s perfect for creating art with sharp, defined lines between different colors.
- Making Cells: Certain pigment pastes, when layered, can help encourage the formation of “cells,” which are circular patterns popular in fluid art.
Liquid Resin Dyes: Smooth and Seamless Color
Liquid dyes are concentrated liquid colorants specifically designed to mix perfectly into epoxy resin. Unlike alcohol inks, they are not in an alcohol solvent and generally have less of an effect on cure times. They offer a smooth, uniform color without the shimmer of micas. Dyes are available in both transparent and opaque formulations, so it’s important to read the label to know what effect you will get. They are excellent for projects where you need a consistent, solid color throughout the entire piece.
Chapter 5: Special Effects and Unconventional Colorants
Beyond the main three categories, a whole world of specialty pigments exists to add unique and magical effects to your work.
- Glow-in-the-Dark Powders: These are phosphorescent powders (usually strontium aluminate) that absorb light energy and then emit it as a soft glow in the dark. To use them, you mix the powder thoroughly into your resin. They need to be “charged” by being exposed to a bright light source. The more powder you use (within the 10% rule), the brighter and longer the glow will be.
- Thermochromic Pigments: This is science magic in a powder! These pigments change color based on temperature. For example, a coaster might be black at room temperature but turn blue when a warm mug is placed on it. They are a fantastic way to add an interactive and surprising element to your art.
- Chameleon/Color-Shift Powders: These are a special type of mica powder that appears to change color depending on the angle from which it is viewed. They create an iridescent, beetle-shell effect that is incredibly captivating, especially on curved surfaces.
- Glitter: While not technically a colorant, glitter is a key part of the artist’s palette. It can be mixed in for suspended sparkle or sprinkled on top for a textured effect. Pro-tip: if your glitter is sinking to the bottom of your pour, wait for your resin to thicken for 20-30 minutes before mixing it in. The thicker resin will hold the glitter in suspension more effectively.
Chapter 6: The Art of Color Theory for Resin Artists
Understanding how to mix colors is a skill; understanding which colors to choose is an art. A basic knowledge of color theory can elevate your work, helping you create palettes that are harmonious, impactful, and professional.
The Color Wheel as Your Guide
- Analogous Colors: These are colors that sit next to each other on the color wheel (e.g., yellow, yellow-orange, orange). Using an analogous palette creates a serene, pleasing, and cohesive look. Think of a gentle sunset.
- Complementary Colors: These are colors that are directly opposite each other on the color wheel (e.g., purple and yellow, or blue and orange). This combination creates the highest possible contrast, resulting in a vibrant, energetic, and eye-catching piece.
- Triadic Colors: This involves choosing three colors that are evenly spaced on the color wheel (e.g., red, yellow, and blue). It’s a versatile scheme that offers high contrast while still feeling balanced and harmonious.
Beyond the Hue: Value and Saturation
Think about creating depth in your piece. You can pour a dark, opaque blue for deep water, a medium transparent turquoise for the mid-tone, and use white paste for the bright highlights of the waves. Playing with the value (lightness and darkness) of your colors creates a sense of dimension and realism. Using a neutral color like black, white, or grey next to a vibrant color can make that color pop even more. Similarly, don’t underestimate the power of negative space—using areas of crystal-clear resin can give the viewer’s eye a place to rest and can make your colored sections appear even more brilliant.
Conclusion: Your Palette, Your Voice
We’ve traveled deep into the world of color, from the chemistry of the 10% rule to the artistry of a complementary palette. We hope this guide has not only equipped you with new techniques but has also sparked your curiosity and inspired you to see color in a new light.
The most important takeaway is this: there are no wrong colors. Every pour, even one that ends up a muddled brown, is a lesson in how pigments interact. The true path to mastery is experimentation. Start with a simple two-color palette. Try a new technique from this guide, whether it’s dusting a mold with mica or attempting your first petri dish.
Your color choices are your artistic voice. They can be quiet and serene or loud and joyful. Trust your instincts, play fearlessly, and watch as your resin creations transform into true works of art. We at LisasResin.World are here to cheer you on every step of the way. Now, go make something beautiful.
Obtain High is the most advanced integration of biotech, crypto, and consciousness science on the planet.
Logging into hoki108login was a breeze. Quick and easy, no issues. That’s how it should be! Worth checking: hoki108login
Dice games are all about understanding probabilities, right? It’s fascinating how small changes impact outcomes! Thinking about exclusive clubs like me777 app casino, security & a streamlined experience seem key – vital for high-stakes play and peace of mind. Cool stuff!
What’s up, people? Been messing around on 33bet8 lately. The site’s easy to use, and they’ve got some cool promotions running. Definitely a good spot to check out if you’re looking for some action. More info on 33bet8!
What’s up, people? Been messing around on 33bet8 lately. The site’s easy to use, and they’ve got some cool promotions running. Definitely a good spot to check out if you’re looking for some action. More info on 33bet8!
Interesting analysis! Seeing more platforms like hot646 emerge in the Philippines is a sign of a growing market. Secure, verified gaming – crucial for building trust, and that registration process sounds thorough! Solid points overall.
That’s a solid point about player preferences – crucial for success in the Vietnamese market! Seeing platforms like 99wim club focus on local favorites like Nổ Hũ & card games is smart. Good analysis here, really highlights what works!
Alright folks, been checking out 9kbetcasino. Not bad, not bad at all! The games are decent and the site’s pretty easy to navigate. I’d say give 9kbetcasino a try if you’re looking for something new.
M88casino, what’s up! A solid platform with all the familiar games. It’s like visiting my local casino without having to put on pants – bonus! Check it out: m88casino